
Transforming a simple backyard into an expansive, functional outdoor living area is one of the most rewarding home improvement projects you can undertake. An intentional outdoor layout effectively expands your home’s square footage, creating a dedicated zone for relaxation, entertainment, and culinary projects. Beyond the immediate lifestyle upgrade, a well-executed exterior overhaul delivers exceptional return on investment by significantly boosting curb appeal and overall property value.
However, turning a patch of lawn into a multi-zone outdoor sanctuary requires far more than placing a patio set on a concrete slab. It demands careful sequencing, proper structural engineering, and a clear understanding of how different elements—from shade structures to water features—interact within a landscape. Moving forward without a comprehensive strategy can lead to costly drainage failures, trade scheduling conflicts, and premature surface degradation.
Whether you are starting with a completely undeveloped plot or upgrading an aging layout, following a systematic plan ensures your project stays on budget and yields long-lasting results. This step-by-step guide walks you through the essential phases of designing, building, and maintaining the ultimate outdoor living environment.
Step 1: Evaluating Your Site and Existing Vegetation
Before purchasing materials or hiring building teams, you must conduct a thorough audit of your property’s existing physical conditions. Every backyard presents a unique set of microclimates, topographical challenges, and regulatory boundaries that directly influence what can be built.
Start by mapping your site’s physical parameters throughout the day:
- Sun Exposure: Track how sunlight moves across the yard during peak summer months. South-facing zones receive intense mid-day heat that requires heavy shading, while north-facing areas may stay damp and require specialized paving materials to resist algae.
- Microclimates and Wind: Identify natural wind tunnels created by surrounding structures. High-wind corridors can render fire pits unsafe or damage unanchored shade fixtures.
- Drainage Patterns: Observe where water collects during heavy rainfall. Low-lying areas with standing water will need aggressive subsurface drainage intervention before installing hardscaping.
- Property Lines and Setbacks: Consult your local municipality’s zoning codes. Most jurisdictions mandate strict buffer zones from property lines for permanent structures, water installations, and mechanical equipment.
Existing vegetation also requires a professional evaluation. Mature trees add incredible aesthetic value, shade, and privacy, but their root systems can compromise nearby foundations, pavers, and utility lines. Hiring a certified arborist to inspect mature trees allows you to identify which specimens are healthy enough to integrate into your design and which present structural risks. These specialists can also perform root pruning or crown thinning to protect your future hardscape without harming the tree’s health.
Once you have established tree preservation boundaries, focus on site preparation to lay the groundwork for major construction. This initial phase involves clearing surface debris, marking underground utility lines through local locator services, and establishing rough grade lines to ensure water flows safely away from your home’s foundation.
Step 2: Clearing and Grading the Canvas
With your initial evaluation complete, the physical transformation begins with site clearance and heavy earthwork. Skipping or rushing this phase virtually guarantees structural failures later, such as cracked pavers, shifting retaining walls, and pooled runoff.
Heavy machinery is typically brought in during this stage to strip away existing turf, remove invasive brush, and excavate stubborn tree stumps. Executing thorough land clearing removes all organic material that would otherwise rot beneath paved surfaces and cause localized settling. It also clears the way for utility trenching, allowing gas lines for grills, electrical conduits for lighting, and water pipes for irrigation to be laid deep below the frost line.
Proper grading is the most critical technical aspect of site preparation. The ground must be shaped to establish a continuous slope that redirects stormwater toward designated drainage basins or swales:
- Foundation Pitch: All hardscaped surfaces must slope away from the primary residential structure at a minimum rate of 1/4 inch per foot.
- Soil Stabilization: Excavated subsoils must be compacted in lifts using mechanical plate compactors to prevent future sinkholes or surface shifting.
- Sub-Base Depth: Depending on your soil type (clay versus sand), you must excavate 6 to 12 inches below the planned surface height to accommodate crushed stone sub-bases.
Managing this scale of site manipulation often requires specialized trade coordination. Bringing in a licensed landscape contractor ensures that earthmoving, drainage system installation, and retaining wall construction are executed according to engineering standards. Their oversight guarantees that the base layers are structurally sound, preventing costly repairs after final surfaces are laid down.
Step 3: Engineering Structural Features and Amenities
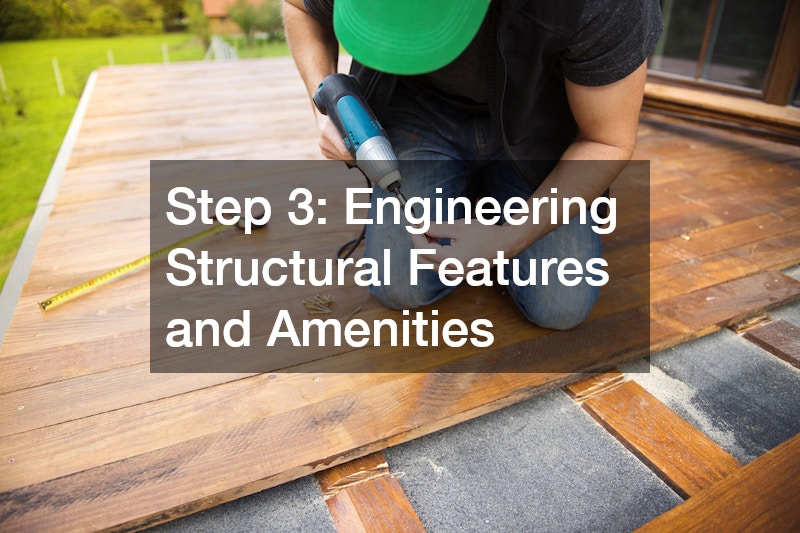
Once the site is properly cleared and leveled, you can transition to building the main structural anchors of your outdoor space. These features often dictate the flow of foot traffic and serve as the central gathering points for social activities.
If your master plan includes a swimming facility, early integration into the construction timeline is crucial. Excavation, steel reinforcement, rebar installation, plumbing rough-ins, and shell pouring must occur before surrounding patios or overhead structures are built. Working alongside an experienced local pool contractor allows you to select the ideal pool type—whether gunite, fiberglass, or vinyl liner—that matches your soil composition and aesthetic goals. They will handle complex permitting, hydraulic calculations, and shell placement while leaving dedicated utility connections for adjacent amenities.
In addition to swimming facilities, dedicated relaxation zones elevate the functional versatility of your backyard:
- Integrated Spas: Placing a dedicated hot tub near the main house or pool deck creates an inviting, year-round hydrotherapy zone. Ensure the concrete pad beneath it is reinforced to support the extreme weight of filled water and occupants.
- Outdoor Kitchens: Build islands using non-combustible materials like steel framing and cement board, finished with stone veneer. Include dedicated GFCI electrical outlets and natural gas lines.
- Fire Features: Choose between wood-burning fire pits for natural ambiance or automated gas fire tables for instant heat without smoke management issues.
Proper utility planning during this phase prevents visible conduits or retrofitted piping from marring the finished aesthetic. All gas, water, and high-voltage electrical lines should be inspected and approved by municipal officials before any concrete is poured over them.
Step 4: Upgrading Surfacing and Shade Controls
With major structural elements in place, attention turns to the surfaces underfoot and the overhead protection. These finish materials define the visual character of your living space and dictate how comfortable the area remains during extreme seasonal weather.
Pool decks and high-traffic pathways require specialized surface treatments that balance aesthetics, slip resistance, and heat reflection. Over time, concrete surfaces surrounding water features can become stained, spalled, or uncomfortably hot under direct sunlight. Investing in professional pool deck refinishing restores the structural integrity of old concrete while applying modern polymer coatings or cool-deck toppings. These advanced finishes reduce surface temperatures significantly underfoot and provide a textured, non-slip grip that enhances safety around wet areas.
To make your open-air living zones usable during peak summer heat or unexpected rain showers, flexible overhead protection is essential:
- Automated Shade: Installing a motorized retractable awning over primary seating or dining zones gives you instant, adaptable weather protection. Modern systems feature wind sensors that automatically retract the fabric during sudden gusts to prevent frame damage.
- Pergolas and Louvered Roofs: Permanent aluminum or wooden pergolas offer architectural structure. Louvered models feature adjustable slats that rotate to track the sun or seal completely during rainfall.
- Shade Sails: High-density polyethylene shade sails provide a modern aesthetic and targeted UV blocking for irregular space layouts.
Pairing durable ground surfacing with dynamic overhead shelter creates an adaptable environment that transitions smoothly from bright midday sunshine to cool evening entertainment.
Step 5: Designing Functional Zones and Traffic Patterns
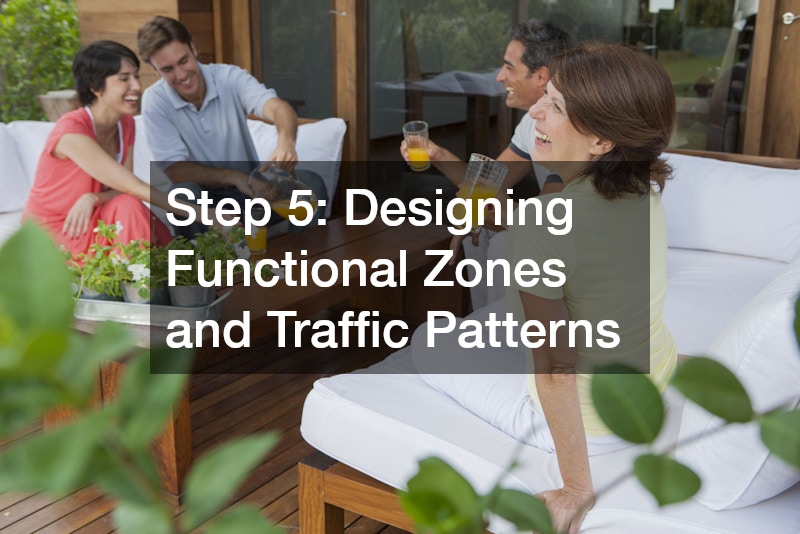
A common mistake in large outdoor projects is treating the yard as one massive, open area rather than a series of intentional, connected rooms. Designing dedicated activity zones establishes logical flow, reduces crowding, and creates a far more comfortable environment for entertaining groups of varying sizes.
Consider how people naturally navigate your property when establishing these distinct functional areas:
- The Culinary Zone: Position outdoor kitchens, prep counters, and grilling stations close to the indoor kitchen entry. This minimizes long walks when carrying heavy food trays or dirty dishes back and forth. Ensure there is at least four feet of clearance around cooking appliances so the chef can operate safely without blocking pathways.
- The Dining Room: Locate outdoor dining tables adjacent to the cooking station, but out of the direct path of smoke or extreme grill heat. Allow ample space behind chairs so guests can slide back comfortably without stepping into landscaping beds or dropping off patio edges.
- The Social Lounge: Create a central gathering spot centered around a fire feature or focal entertainment point. Use modular sectional seating, deep-seat armchairs, and side tables to encourage intimate conversations away from high-traffic movement zones.
- The Transition Paths: Connect each distinct area using wide, defined walkways made of stone pavers, smooth gravel, or stamped concrete. Main arteries should measure at least three to four feet wide to allow two people to walk side-by-side comfortably.
By defining these boundaries using decorative planters, subtle changes in patio elevation, or changes in paving patterns, you create a cohesive layout that feels structured, expansive, and easy to navigate.
Step 6: Integrating Smart Technology and Ambient Lighting
Modern outdoor spaces require thoughtful technological integration to maximize comfort, convenience, and security after the sun goes down. Incorporating low-voltage lighting, outdoor audio systems, and environmental controls directly into your build plan transforms a basic yard into a high-tech entertainment hub.
Illumination serves both practical safety needs and artistic design goals:
- Task and Path Lighting: Install subtle downlights along steps, low walls, and walkways to prevent trips and falls in the dark.
- Accent and Uplighting: Place small, angled spotlights at the bases of key architectural plants, stone columns, or decorative water features to create dramatic shadows and highlight textures.
- Zone Control: Divide your exterior lighting into separately controllable zones using smart transformers. This allows you to dim lighting in the lounge area while keeping path lights bright for departing guests.
- Outdoor Entertainment: Integrate weatherproof, high-definition displays and landscape speakers hidden within garden beds. Connecting these systems to smart home hubs allows you to control audio levels, TV inputs, and ambiance settings directly from a smartphone or tablet.
Adding misting systems for hot summer afternoons or ceiling-mounted infrared heaters beneath covered patios further extends the usability of your outdoor space into late autumn and early spring, making the environment truly versatile.
Step 7: Establishing Long-Term System Upkeep Routines
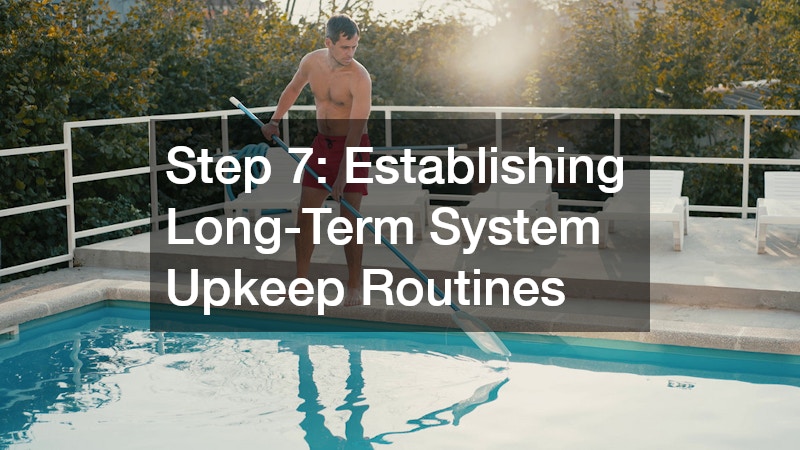
A high-end outdoor living space requires ongoing maintenance to preserve its beauty, structural integrity, and mechanical equipment. Building automated care routines into your initial design reduces weekly labor and extends the lifespan of your investment.
Water features and pools require precise chemical balance and filtration monitoring to keep the environment safe and clear. Establishing a consistent schedule for pool maintenance prevents algae blooms, equipment corrosion, and scale buildup on tile surfaces:
- Daily/Weekly Tasks: Empty skimmer baskets, test pH and chlorine levels, and brush pool walls to prevent film accumulation.
- Automated Dosing: Consider installing salt-chlorine generators or automated pH controllers to maintain steady water chemistry without manual chemical handling.
- Filtration Upkeep: Clean sand or cartridge filters monthly, and backwash DE systems as pressure gauges indicate.
While routine surface skimming and simple chemical adjustments can be managed by the homeowner, complex mechanical systems benefit from expert oversight. Hiring certified pool maintenance services ensures that variable-speed pumps, automated heating units, and salt systems are serviced according to manufacturer specifications. Professional technicians can identify early signs of mechanical wear, perform seasonal winterization or opening procedures, and audit energy consumption to keep operating costs low.
Beyond water features, establish a seasonal checklist for hardscape and shade structures. Pressure wash pavers annually, apply protective sealants to natural stone every two to three years, and lubricate moving awning mechanisms to keep your entire space performing like new.
Building the ultimate outdoor living space is a multi-stage journey that requires thoughtful planning, skilled labor, and ongoing stewardship. By systematically assessing your site, preparing a stable base, engineering quality structural features, applying high-performance finishes, organizing logical movement patterns, integrating modern amenities, and maintaining your mechanical systems, you create a seamless outdoor sanctuary that delivers comfort, functionality, and lasting value for years to come.